Abutment Components

exocad’s constantly expanding verified component library databases contain a leading number of supported dental components. It is important to support the newest dental innovations right from the start. That’s why we support our partners, official resellers, and dental component manufacturers to make the integration process of new and updated component systems as easy and efficient as possible.

To enable us to use  your data within our software systems, it’s required to form a License Agreement. This License Agreement also allows us to use your company name, trademarks and related imagery/parameters within our software systems for displaying and advertising.


Supported Library Types

All prosthetic components need to be placed into libraries so that they can be used within our software. If you want to know which library type is relevant for you, click on the description below to learn more about them:

  • Prosthetic Libraries: Used for custom abutments, titanium bases, pre-mill abutments, direct screw-retained abutments, and scan bodies.
  • Stock Abutments: Used for premanufactured abutments.
  • US/FDA Cleared Libraries: Used for libraries that should be used in the US marked and therefore are FDA-cleared. A separate quality assurance process will be done for those libraries
  • Libraries with Angulated Screw Channels (ASC): Enables a feature that allows users to position the screw channel at various angles and directions without creating additional subtypes with different angles in the libraries.
  • Multi-Units: Not fully supported - used with workaround on the basis of Stock-Abutment library type.


CAD Component Library Service

The most efficient and straightforward way to integrate your prosthetic libraries is by utilizing one of our specialized services. Our team of experts is dedicated to ensuring a seamless integration process tailored to your specific needs. Upon receiving your request and the necessary data, we will carefully assess your requirements and provide a customized offer. This will guide you step-by-step to successfully integrate your prosthetic libraries into our DentalCAD software suite.

Click here to get more information about the Technology Integration Services.

Self-Built Libraries

If you prefer to build your libraries yourself, please keep the following points in mind. Should you encounter any difficulties at any stage, don't worry. Simply reach out to us during the creation process, and we will step in at the right moment to guide you through the necessary steps to optimally prepare your libraries for integration. Once created, the libraries will receive an official signature from us and will be integrated into the software.


  • 1. Create library by yourself

    When creating your libraries take the following into account:

    • Use the latest version of the Implant Library Editor to create your data. This can be downloaded here. Please note that an exocad software license is required for its usage.
    • Library updates have to be based on previously integrated data. When you make an update, exchange only data from the last modified library.
    • When using protected copyrights or brand names, it is important to pay attention to the correct use of the symbols indicating existing protection. exocad does not check the correctness of your entries and cannot be held responsible for infringements of trademark rights in this regard.
    • Read carefully the error messages when saving the created library in the Implant Library Editor and correct the issues if possible.
    • Make sure you include an appropriate subject line (manufacturer, library name/type) and compress the data into a .zip folder before sending.
    • Please provide us with a company logo (resolution as high as possible) for our website. In addition, we require the full company name including necessary trademarks and type of company.
  • 2. Submit your libraries
    • As soon as you have finished creating your libraries, send the data in the corresponding ticket (if there is no ticket yet, send the library integration request to integration@exocad.com)
    • We provide you with an upload link for submitting your libraries (ticket linked). Note that we may not be able to use download links provided by you.
    • Only send complete libraries, do not send separate meshes or files unless we have asked for it.
    • For updates, always create updates based on the latest checked and signed library version. Only send the libraries that you have changed, not all your libraries.
    • Libraries should always be tested by you before you send them for integration. We cannot release libraries if they have not been finally tested by you.
    • We can only accept fully tested and ready-for-production libraries.
    • Every subsequent request due to issues with the library costs time and also delays other projects.
    • If your sent libraries need some adjustments to be integrated, we will send you an offer based on our current pricelist to support you on how to make your libraries ready for integration.
    • After finally checking and signing, we will pack your libraries into ZIP packages and make them available for download. Various selection filters are available. The naming of the ZIP packages contains some abbreviations for available selection filters (e.g. IL --> libraries are ready for the immediate loading feature, IO --> libraries with scan bodies for intraoral scanning, FDA libraries are also usable in the AbutmentCAD module).
    • After sending our final integration message to you, your encrypted and signed libraries will be available for download within the next 36 hours on our website.
    • Sometimes, it could be necessary to update your libraries (to add new features or internal changes). In this case, we will inform you.

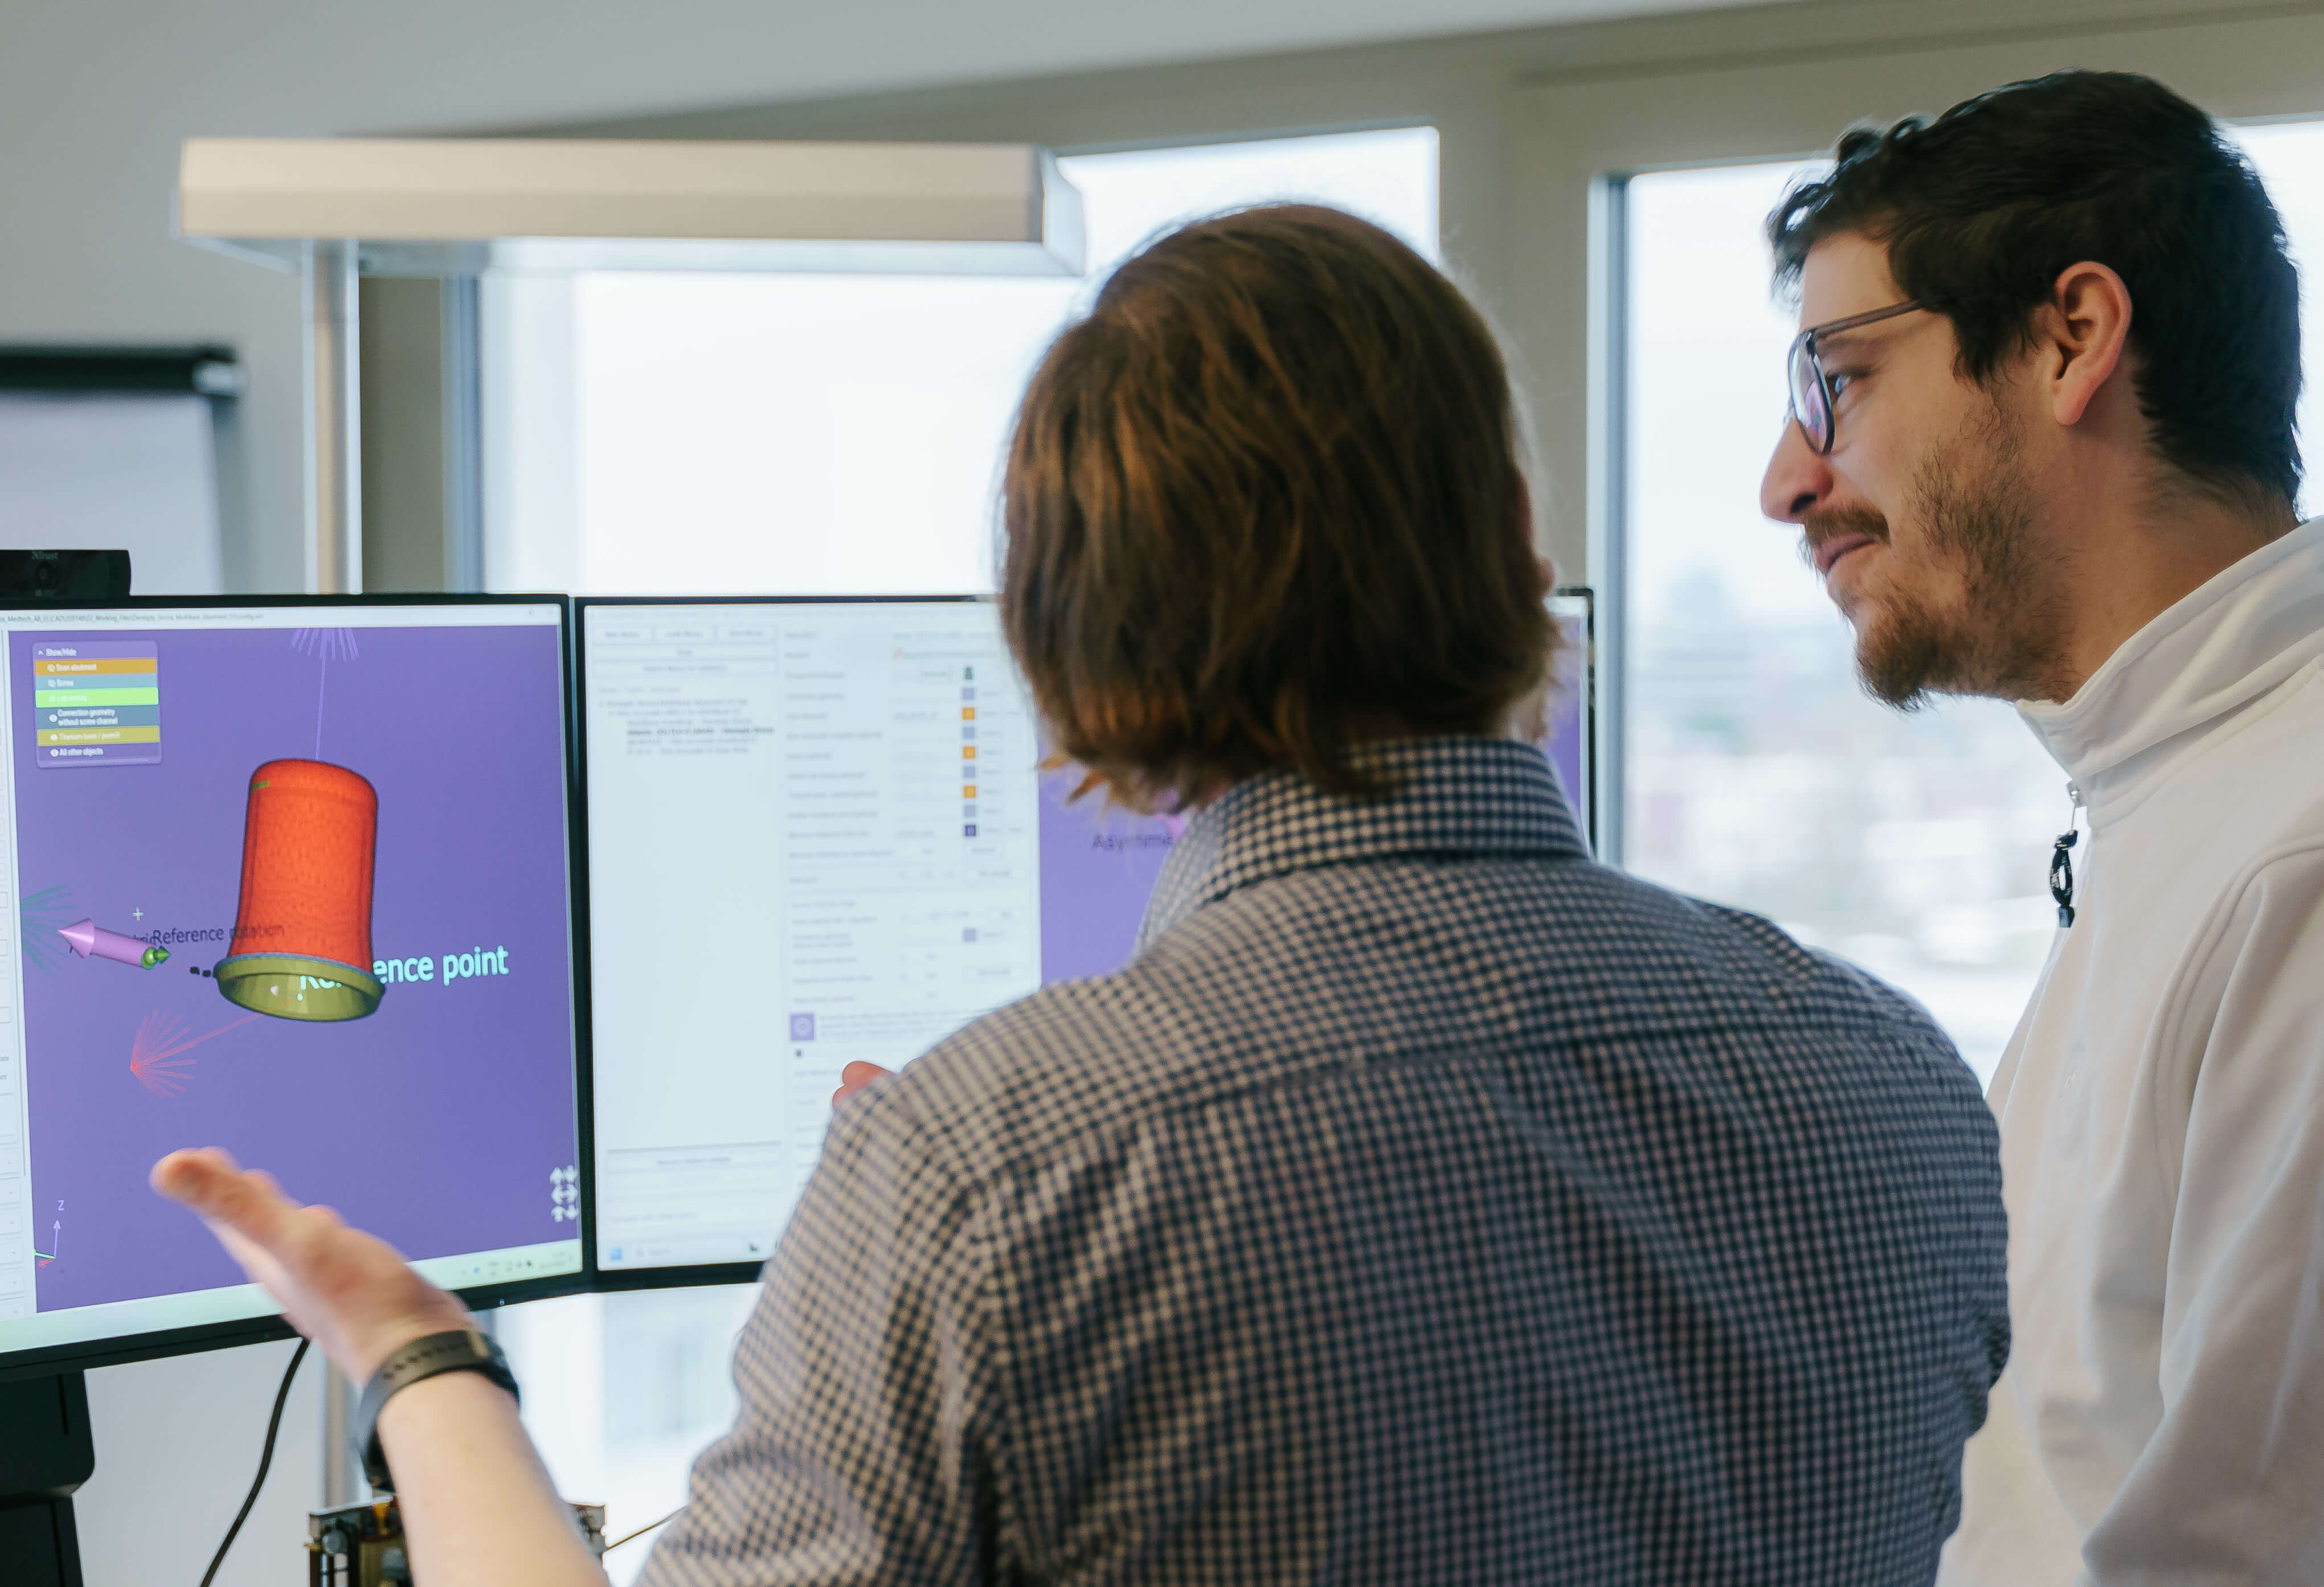
Our comprehensive prosthetic libraries offer a wide range of components designed to meet diverse clinical needs and ensure optimal outcomes for dental restorations. For all libraries we require certain geometries and information of the components. These requirements differ of the chosen library type:

  • Custom Abutments: requires a connection geometry
  • Titanium Bases: STL-Files of the Titanium Bases
  • Pre-Mill Abutments: STL Files of the Premill
  • Generally required: STL Files for Scan Bodies, Screw, Lab Analog, Shell geometry for the Connection itself. Part Information for all selected Parts (Partname, Official Partnumber, Manufacturer)

After your request you will receive a detailed list of what geometries we need to build up & integrate your libraries.

Prosthetic libraries for DentalCAD/ChairsideCAD also work in exoplan if they are compatible with the implant libraries. Find out more about how the exoplan-DentalCAD cross-compatibiliy works here.

Since the release of exocad DentalCAD 3.1 Rijeka, it is now possible to design implant-based restorations using stock abutment libraries. The crown on top of these stock abutments will be designed without an emergence profile and screw channel. To use stock abutments, select "on stock abutment" in the database (DB) and choose "stock abutment" during the scan body-matching step. You can create stock abutment libraries by selecting the "stock abutment" library type in the Implant Library Editor.

Requirements:

  • Stock Abutment: The stock abutment geometry as a solid.
  • Stock Abutment Support: The stock abutment support mesh is mandatory, even if described as "optional" in the Implant Library Editor. The support mesh requires only one open boundary curve, as no screw channel is needed, unlike in "CAD-Prosthetic" libraries.
  • Scan Abutment: Use our latest Implant Data Editor to insert the mandatory scan marker files. The geometry requirements are the same as those for the CAD prosthetic library type.

Please note: A compatible exoplan implant library is required to support the complete workflow, starting from implant planning in exoplan. Stock abutment libraries must include the suffix "_stock" in the library folder name.

Only libraries containing FDA-cleared parts can be used with our U.S. software for ChairsideCAD and DentalCAD. To integrate your FDA-cleared prosthetic components into our AbutmentCAD module for the U.S., please follow the steps below, along with our specifications and demo library (available upon request).

  • Separate Components: Distinguish between "non-U.S." and U.S.-marketed components, and create dedicated U.S. libraries for the latter.
  • Naming Convention: Add the suffix "_fda" to all U.S. library folder names.
  • 510(k) Numbers: Provide 510(k) numbers for each prosthetic part to be integrated. Fill in these numbers for each library folder using the prepared Excel sheet.
  • Software Version: Use Engine Build 7969 or 7996 of our Implant Library Editor with an exocad DentalCAD dongle.
  • Library Description: Ensure the library's description includes the suffix "FDA".
  • Regulatory Tag: Set the regulatory clearance tag to "FDA" in Library Type > Other restrictions.
  • Abutment Restrictions: Fill in all abutment restrictions (marked in red) with meaningful information for each component.
  • Minimum Thickness: Provide the minimum thickness mesh and minimum thickness value.
  • Part Information: For all scan abutments, titanium bases, and premills, provide the following:
    • Manufacturer: Official manufacturer name
    • Part Number: Article number/order code
    • Part Name: Official product name

The Implant Library Editor will create a .partInfo file from this information, which will be stored in the library folder. When sending a library to exocad for signing, this file will be part of the validation process. Please do not change the filename of any .partInfo file.

We are excited to inform you that DentalCADElefsina now includes a new function for the angulated screw channel with a titanium base. Please note that all requests for updates or new libraries containing this feature should be adapted to DentalCADElefsina. This feature allows users to position the screw channel at various angles and directions without creating additional subtypes with different angles in the libraries.

Guidelines for Creating a Library for the Angulated Screw Channel (ASC):

  • Closed Mesh for Connection Geometry: Ensure the connection geometry "Support Mesh" is closed (do not add a mesh in the top field). (required)
  • Set Axis and Angle of Screw Channel: Use the "Set by Angle" option to select any degree greater than zero. The axis of rotation specifies the direction of the screw channel (plane). Position the opening of the titanium base to the left. In the "set by angle" screenshot, the opening should be between the Z- and Y-axis, with rotation along the X-axis. Select the negative axis if the axis is in the positive direction, and vice versa. (required)
  • Define Screw Channel Diameter: Specify the diameter of the screw channel. (required)
  • Define Height Offset for Angulation Point: The white dot corresponds to this value, indicating where the screw channel should start. Align as shown in the screenshot, with the white dot at the intersection between the axis and the visual line of the screw channel. (required)
  • Define Radial Offset (Optional): This value determines the bending point.
    • If Radial Offset = 0, the principle of angulation applies, and the height offset from the angulation point is constant.
    • If Radial Offset is not 0, the principle of bending applies, and the height offset from the bending point is constant.
  • User-Defined Angle of Screw Channel: Allow the user to set the angle of the screw channel and specify the minimum and maximum values. (required)
  • Activate "For Use with Titanium Base": Ensure this field is activated. (required)
  • Set Library Compatibility Values: Define the values for library compatibility.

Please note that libraries with this function are only compatible with the DentalCAD Elefsina version. Users should update their DentalCAD software.

More detailed information and about the new functions:

The Implant Library Editor for this library type is still under development. We are happy to assist you in the library creation process.

We will integrate the multi-unit abutments as a stock-abutment library and the corresponding copings and connection geometries as a "normal" CAD-Prosthetic library. The components of the different libraries will be matched via the (second) library compatibility. Therefore, when we refer to a multi-unit library, we actually mean two libraries: a stock-abutment library with the suffix "multiunit" and a corresponding prosthetic library with the suffix "multiunit_support".

Required Components:

1. Stock Abutment Library (suffix "multiunit")

  • Stock Abutments: The Multi-Unit abutments as solid.

2. CAD-Prosthetic Library (suffix "multiunit_support")

  • Direct Screw Retained Connections on the Multi-Unit: Support mesh (connection geometry) including the screw channel.
  • Copings or Other Secondary Structures for Mounting on the Multi-Unit Abutment: The respective coping (as 'titanium base') and one support mesh per coping, which molds the coping including the hole for the screw channel.
  • Corresponding Scanbodies: For screwing onto the multi-unit abutment.

Note: Compatible exoplan implant libraries are required for multi-unit library integration.

Visit our FAQs for Abutment Components here!

Questions? Feedback? 

The Technology Integration team is committed to providing top-notch services and fostering strong partnerships. We're here to support you every step of the way!


Contact exocad Technology Integration